Saturday, 7 June 2014

Rockin The DVD Collection with a Websters Revamp


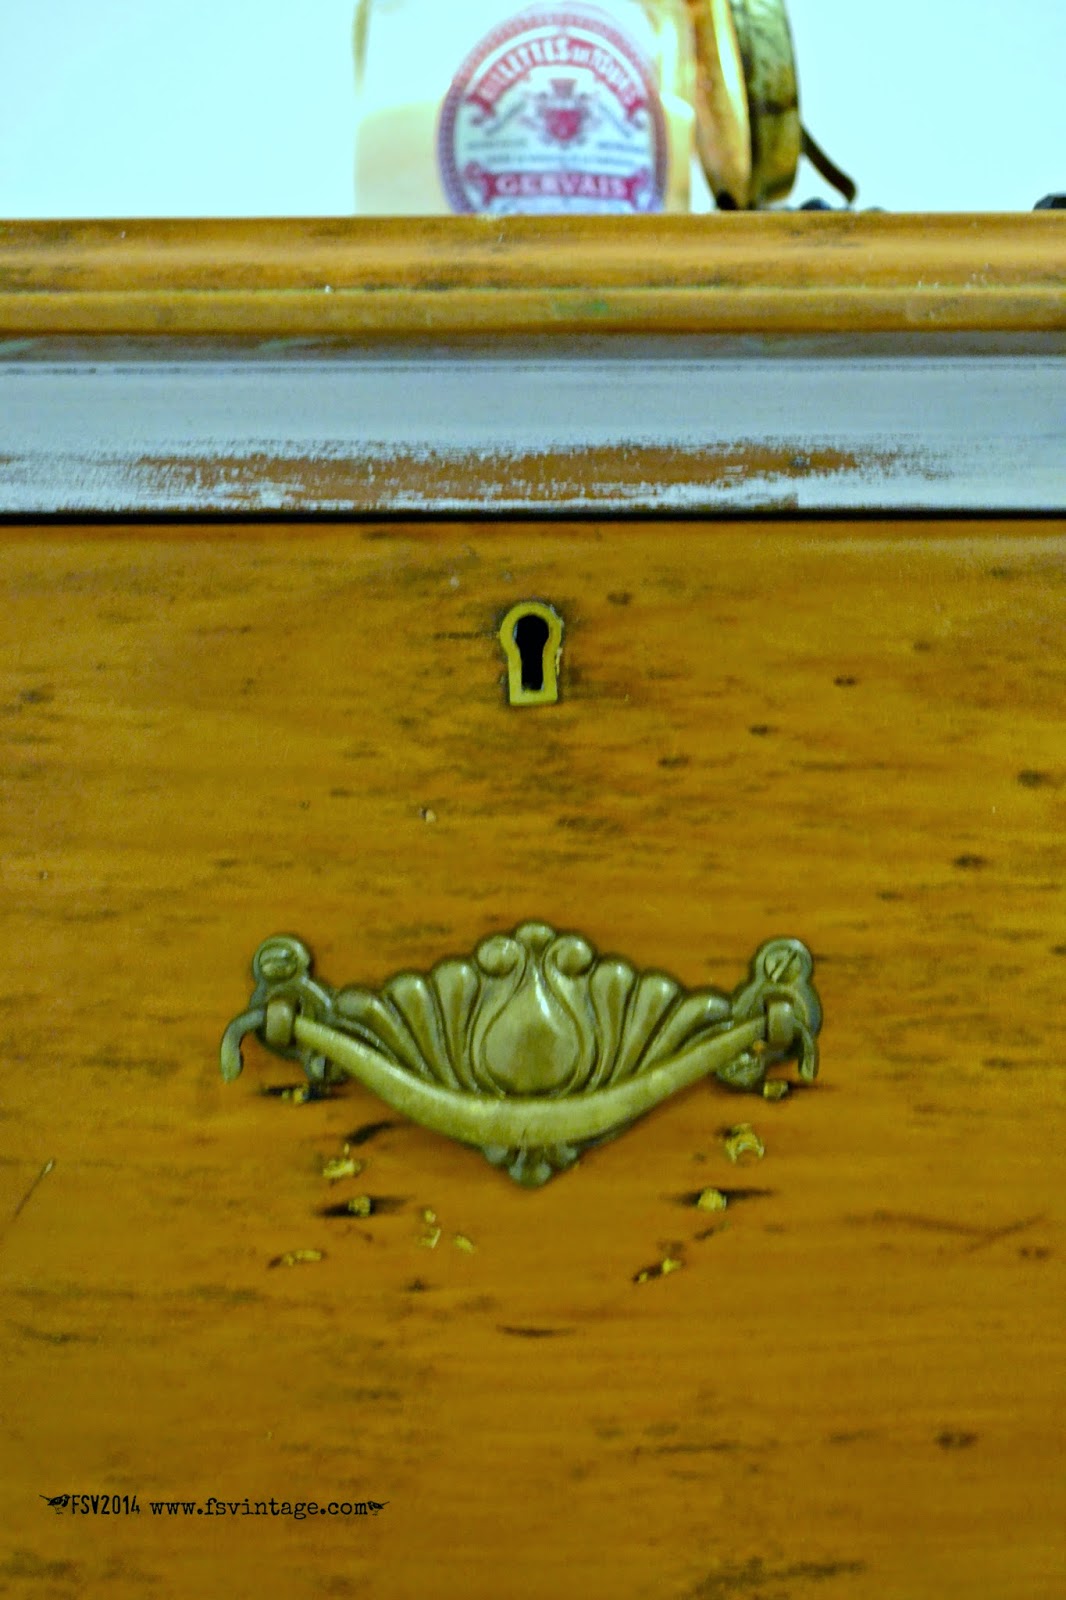
This was the cabinet I mentioned in my previous post. It was a bit raggedy, a bit well used and obviously well loved.


Pretty Fabulous Silky Oak Cabinet

A Peek inside

Terrific piece ...... so what to do?

Our DVD collection was housed in our old bedroom dresser I did up ~ but it was not super successful ~  the drawers didn't come all the way out because of the Bookcase in the Book Nook.

Hmmmmm could this work?

But where to put it????

Let us begin:

You know the drill by now ~ good clean with Eucalyptus in water on a damp cloth.
We then used the normal recipe of:

2 x Tablespoons of Websters
1 x Tablespoon of water
1 x Cup of Latex paint ~ Antique White USA


Websters Does it again

We went with 3 coats of Websters on this one as I wanted a really good layer to take back. I wanted to achieve a Just Been Dragged Out Of The Shed french country kinda look ... kinda sorta.  One mix did two coats no problems but needed another batch for the third coat. ( I used the leftovers on another Chair I had laying about.)

We did the inside in some leftover Red paint we also had laying about.

No waste at all using this amazing product!


Drying overnight

When it had dried overnight ~ pause here to mention ~ Websters is touch dry within about an hour but I left this one as I wanted to really make sure it had well dried so it would come away chippy.

And it did .......

I used my prefferred method of the Good Ol Purple double side Vileda cloth and wiped down every section.

Now this was the part I was dreading. I am NOT a big fan of Dark Wax. Nope not even a little bit. I prefer the Clear and use it on most of my pieces but I have a huge tin and loathe waste so ~ stepped into my Big Girl Undies and started the process.

Very slowly and in very small sections in a circular motion. I buffed each section pretty quickly and left the whole thing to set for awhile. We also left the internal drawers ~  as they were ~ because the silky oak wood is divine. A quick wipe over with the dark wax and they are perfectly Fabulous.


Chippy Fabulousness

I decided to go over the whole thing again with a coat of L'essentiel Clear Wax and I gotta say ......

*SWOONWORTHY*
 
A gorgeous glow from the top layer of L'essentiel Wax

The look is exactly what I wanted AND as an added bonus Mr Fab helped me alphabetize the DVD's and put them in the drawers.
 
Fabulous Tip 1: Every now & then I run some L'essential Wax over the wooden handles of my good paintbrushes after I have cleaned them. Just to ensure they stay in tip top condition.

Fabulous Tip 2: I wash my Brushes in  Marseille stain remover soap 100g with orange essential oil. Available at FS Vintage for $8.50 a bar. ( I have been using mine for months)


Available at www.fsvintage.com

The finished Revamped DVD cupboard!


Cant show you the entire Guest Room because of the packing stuff on the bed.

Add a sweet Zinc Heart available at www.fsvintage.com


Inside Cabinet painted Red for a bit of Drama

Ta Dah!

Hope you enjoyed this Makeover. With Websters you can create and transform anything! Leave us a comment or any questions feel free to contact us!

Revamp, Restore & Stay Fabulous.


Sunday, 1 June 2014

Junky now Funky with Websters

Came across this set of Drawers for a great price along with an old silky Oak cabinet ~ (That is of course another story coming soon) ~ on Gumtree along with the added bonus of meeting the lovely couple who were selling!


Isn't the wood perfectly Fabulous??

I am so insane stupid happy with these drawers but they were not quite perfectly Fabulous as I wanted them to be chippy & really distressed.

I thought I would show you what I did to achieve the look.

 
Dreamy drawers
 

Once I saw the actual drawers I simply could NOT paint them entirely and wanted a really shabby look with plenty of this beautiful old wood showing through the Websters.

I gave them a good clean with my usual Euclytptus Oil and water on a damp cloth then mixed up a batch of really wishy washy Websters.

I used the following recipe:

2 x Tablespoons of Websters Chalk Paint Powder
1/2 Cup of water
1/2 Cup of Dulux Antique White USA.

Gave it a really good mix then applied three coats allowing time to dry between each one.

I then set about distressing them exactly the way I wanted.
A method I really like is using one of those Purple Vileda Cloths. You know the ones that are soft on one side and kinda scratchy on the other?

I used it quite damp and simply went over the paint to achieve the shabby scrappy look I wanted.

The top & drawers were given two coats of L'essentiel wax to achieve the soft deep shine and single coat over the entire piece to seal.
A good buff before they made their way upstairs to begin life .... again.


Scrumptious scrappy shabby Fabulousness


Side View
Drawer Front


 Are you ready for the final finished piece?
Finished
What do you think? Is this the kid of thing you would like to do? Then why not attended one of our Websters Workshops?


Leave us a comment as we would really love to hear from you!

Revamp, Restore and Stay Fabulous

Sunday, 25 May 2014

Are we lovin ©Websters & Léssentiel? Oh yeah .....

I simply HAD to let you know how these amazing products were working out for us here at FS Vintage.

I am in a state of shock to be completely honest.

So someone tells you : "Yeah yeah this is the BEST thing EVER" and you listen and you nod and then discover it is ok but not everything you hoped it would be...........?

Not the case with ©Websters & ©Léssentiel Wax.

Before ©Websters Chalk Paint & ©Léssentiel Wax


You all know by now my hands are horrific and I basically wear gloves all the time ~ (I rock the whole Doris Day White Glove thing ~ just sayin) and I ignore the snickers and smirks. I have seen the Safety Data sheets for the products and it is all very well and good for a Government Body to tell me it is all Natural and Eco friendly ....... blah blah and wont harm my skin ......... blah blah BLAH.
It's Fabulous these products meet the high standards set and I am very pleased to read the official documents ........

Bottom line is I have no idea what will cause a reaction so I basically approach everything very very carefully.
Today was a wee bit nerve wracking because I decided ~To be able to genuinely promote a product with absolute honesty ~I need to do the ultimate test ......

No gloves.

It was with great trepidation I took a very deep breathe and started on a couple of old chair's I had in the garage.

I love the metal inserts.

At the end of a long day ~Yeeeeehawwwwwwwwwwwwwwwwwwww

Nothing ~ not a tickle, not an itch, not a swelling finger to be seen.

There was happy dancing around the Shop and much woohooing and Ohhhh yeahing and even some fist pumping.

So ~ today we used my personal all time favorite ~

1 x Cup of Antique White USA mixed with
2 x Tablespoons of ©Websters Chalk Paint Powder
1 x Tablespoon of water

The mix actually did 2 and a bit coats and also an old frame I had sitting around. Now I must say ~ these chairs have metal inserts and the ©Websters simply glided over the metal exactly the same as the wood!

©Websters Chalk Paint powder available at FS Vintage

A very light sand and distress with a wet scourer ( my preferred method) then completely seal with ©Léssentiel Wax. I am seriously loving this Wax. Easy to use ~ a LITTLE goes a LONG way and it even smells nice.....

All in all:

* All Natural ~ Check
* Easy to use ~ Check
* Beautiful buffed finish ~ Check
* Does not have any affect on my hands ~Check Check and DOUBLE CHECK!


Easy to Use ©Léssentiel Wax available at FS Vintage


Léssentiel Beeswax Polish ~All Natural ~Available at FS Vintage


We now have an old chair ~ revamped to go! Super pleased with how well these turned out and they now available for sale.

The finished Chair. Do you see the shine?

Metal inserts in back


I will leave you with a couple of Tips.


Fabulous Tip #1: In between coats ~ put your brush in a zip lock bag then you don't have to wash it out before continuing your revamp.

Ziplock Bag will stop your Brush drying out

Fabulous Tip #2: Clean up after every revamp

This is the Jar I use for mixing my ©Websters. I take the time to wash and clean everything before I put it away. Sounding like an Old Nana much?

Oh yeah!

It only takes a few minutes to make sure your tools are clean & ready for inspiration!


Really it takes a just few minutes to clean up when using ©Websters and you are ready to go when the mood & inspiration takes you .....

Create, Restore, Revamp and make your home seriously Fabulous

Tuesday, 13 May 2014

©Websters Chalk Paint? Ohhhh yeah

How excited am I????? Super Duper excited!

©Websters Chalk Paint Powder

We are the North Brisbane stockists for this amazing product along with ©L'essentiel Beeswax Polish and I cannot begin to tell you how fab it is!

So how bout I show you a little project I have just finished using Websters and L'essentiel Beeswax Polish?

I found a set of drawers that were a little bit the sadder for wear and tear but I could see the potential.  (I found them at Redcliffe 2nd Hand ~ my "Go To Place " for Fab pieces to revamp. )


The Drawers Before

The top had been damaged somewhere along the way and I was a bit concerned about what to do to fix it.
But ~I am getting ahead of myself. Let us begin at the beginning:

You will need:

* 2 x Tablespoons of ©Websters Chalk Paint mix ~available at FS Vintage
* 1 x Tablespoon of Water
* 1 x Cup of any semi / low gloss latex paint in any color you like
* Jar for mixing
* ©LÉSSENTIEL Hand Made Beeswax for finishing

First take 2 x Tablespoons of ©Websters Chalk Paint Powder & pop into the mixing Jar. Then add 1 x Tablespoon of water.


Two Tablespoons of Chalk Paint Powder with One Tablespoon of water

Give that a bit of a shake to mix it up.
Next add your One Cup of Latex paint and give it a damn good shake! I shook it up while counting to 60 and then doin the Hokey Pokey after shaking it all about ....

Not really ....


Add One Cup of Paint

Well shaken!

You are now ready to revamp!

I did three coats ~ my choice ~ and I gotta say this product is brilliant! I used a bit of leftover bluey / violety I had as a base and did the other two coats in a tin of white that was in the garage and I cant read the name .........
My one jar did the full three coats including inside the drawers and went on smoothly and without any of the lumpy grainy bits you sometimes can find in Chalk Paints. Very impressed with how far it spreads and I really enjoyed how easily it went on! 
(Check the end of this post for an extra I did with the left over paint on the brush prior to cleaning!!)

Now remember ~ no prep work was done on the drawers except for my normal clean. I generally go over the entire piece with a damp cloth and warm water with a drop of Eucalyptus. 
I like the smell ....
I also really like the shabby look so I don't sand but it really is your choice!

Now came the tricky part. I was unable to leave the house while doing this so I had to come up with a way to fix the top as painting alone wasnt cutting it. 
Yeah ..Yeah ..I could have waited .... but I was so excited once I had started that I simply had to keep going!
I remembered some vintage receipts I had found on Ebay from a French Drapers. Hmmmm would they work? I knew I had scanned them into the computer so found them and printed them out slightly changing the color to suit.


I did not want to use the originals so thought this way I might be able to create some kind of collage.

I also had issues with the Drawer knobs. I could only remove one and even using a hammer could not dislodge the others so they had to stay!


Would this work? Could I do this? Would it look dodgy?

I used PVA Wood Glue to create the Collage and waited patiently ....... (* tapping foot) for the glue to harden and then put a little more water in my jar to create a kind of white wash with the leftover paint. I then sponged that over the replica dockets to create a softer look.

I then gently went over the edges with a piece of sandpaper to make it look chippy ( I love the chippy look ~the chippier the better). I have been known to use a paint scraper to make something look raggady and distressed. The whole point is: This is YOUR creation ........... so Create! 

Next came the scrumptiously delicious ©L'essentiel Beeswax Polish. This fab product is manufactured by hand right here in Brisbane by Vintage Roses & Things at Wellington Point. It glides on like a dream and buffs to a gorgeous shine and as a bonus? Smells wonderful. All natural and seriously Fabulous! I have FINALLY found a wax that works beautifully and does NOT hurt my hands.

So ~ you ready to see the final product? I finished the whole thing using one of our vintage look hand painted ceramic knobs ( available at FS Vintage
I also have a heap of old frames we are re vamping into Blackboards and thought .....

"Hmmmmmmm would the glass from one of those frames fit over the top as a kind of protection?"

Indeed it did ~kinda sorta with just a smidge extra  on either side.

Recycling and re purposing at it's BEST!


As an added extra ~I had a set of Shoe stretchers that were a kind of dull red and just looked a little tired & and sad. 
Before I washed my brush I simply went over them with the remains of the Chalk Paint ~ cut up a little bit of heavy blue and white french fabric I had leftover and stuck it on with craft glue. Bit of a whitewash to soften and finishing with my ©LÉSSENTIEL wax.


Revamped old Shoe Stretchers

Our first Workshop showcasing these brilliant products is coming very soon. Spaces are limited so we can make sure everyone has the attention and help needed to leave confident they can revamp, re purpose and create beautiful additions to their homes.


Look forward to seeing you there!

Leave us a comment and tell us what you think!

Stay Fabulous

fs vintage
xx


Monday, 7 April 2014

Fabulous Chicken Pasta

Now let us begin these ramblings by saying .....


The Kitchen at Chez Green

I suck at cooking.

Not just suck but monumentally suck. My Muffins are a prime example and after 9 shots ~ I gave up. Many a round of jocularity has been had by my friends as they attempted to try one of my creations.

I loathe cooking I don't enjoy cooking and have no pleasure in cooking AT ALL .......

I am lucky enough to have an AMAZING kitchen which is so easy to work in and I have been told by people who do love cooking that I ... nailed it in my design .......
(I LAUGH at the poo poo sayers who told me I was wrong Ha ha and Ha!)
Still does not make me like cooking.


Come on in and sit a spell

I can however ~ do a mean Chicken Pasta Salad.

I decided today I would show you how to make it. So easy peasy and the end result is serious scrumptious. All natural raw veggies and no fats or oils used at all.

The reason for this dive into Recipe Blogging?

My hands.

Recently ( and No I am NOT going to show you pictures of how horrible they are because it might put you off your Chicken Pasta) ~ where was I? Oh yes ~ recently I have been up around 3 am every single morning scratching. I have to go and wash my hands with a salty grainy based body wash *groan with delight at how GOOD it feels* ~ which is the only way I find any relief and then smother my hands in cream and don my Doris Day ~ ROCKIN IT ~ white cotton gloves. Keep in mind I have tried pretty much ANYTHING that is on offer for relief and have been to so many Doctors I have lost count and also Dermatologist which cost a massive amount of money and didn't help. I am simply OVER the swelled hands I cant open or close, the scratching, the ugliness and the pain. I do NOT want to spend the rest of my life on the only thing that does clear them up ~ Steroids.

No.

While on one of my night time sojourns around the house I decided to google "Itchy Palms".
Now iff the truth is that left hand means money in or out or whatever and right the opposite then I have been a Millionaire and a Pauper 100 times over.

As Mr Google and I rendezvoused I noticed a resounding similarity in one thing ........ Gluten.

ARRGHHHHHHHHHHHHHHH! I didn't not want to see all the stories about how Gluten played such a major role in the problem but sometimes a Gal has to suck it up and go with the flow. How the heck can I suddenly, at my age, become intolerant to something????? At the end of the day ~ Really what do I have to lose?

So today begins the Gluten Free Phase of life and to kick start I figured I would redo the ONLY thing I am good at .... Fabulous Chicken Pasta entirely Gluten Free.

Let us begin .....

Gluten Free Pasta

 Ingredients:

*Chicken breast ( Lazy me buys stir fry strips pre cut free range chicken)
*Diced Bacon (Again already cut up and I use low fat)
*Carrots
*Celery
*Tomato
*Capsicum
*Shallots
*Any veggie you love roughly chopped
*Grated Cheese ( I discovered I have to now grate my own block of cheese as pre grated has Gluten in it *rolls eyes*)
*Gluten Free Pasta

Method:


I love my new tap! Just sayin!


Cook Diced Bacon in pan and I don't use any oil at all. Cook Chicken strips after the bacon and toss in some garlic.
Cook Gluten Free Pasta as per Box directions
Chop Veggies into chunky pieces and toss everything into a bowl
Grate Cheese and toss in mixing well.


Pop in fridge to chill


The End Result

Serve with Gluten free Crostini

That's it. Easy Peasy and seriously yummy.

Give it a try and let me know ... did you like it?

Stay Fabulous

fs vintage
xx

Sunday, 23 March 2014

Let's Make a Mason Solar Light

I know summer is on the way out but the evenings are still pretty darn Fabulous for sitting and relaxing outside. We have had the fancy schmancy Mason Jar Solar Light Lids available for some time but they definitely did not sell very well.
Probably because to even make a couple of bucks on them? We had to sell them at $19.50 each.

When the Girls were here for The Fabulous Faburary Girls Only Weekend ~ they ALL commented on how much they liked them as does every single visitor to Chez Fabulous.

I didn't have any left so .............

Got me to thinking ~ Yeah yeah scary thought ~ but my little brain started twirling.

How could I make a Mason Solar light that didnt look seriously dodgy and actually worked?


Simple as One, Two, Three

Let me show you!

Ingredients: ( Is that the right word?)


Solar Garden Spike Lights


Heritage Blue Empty Jar & Lights

1 x Mason Jar ( I used one of our Heritage Blues available here)
1 x Coles Solar Garden Light ~$2.00 each or try the Cheap Shop.

Optional but I reckon it made a difference ~ just sayin

Duct / Gaffer Tape
Scissors  to cut aforementioned tape
String for decorative purposes or anything YOU like
Stones to put inside Jar

Step One: Put the Solar Garden Lights outside in the sun for about 8 hours with the Orange strip removed as per instructions


Step Two:


Wrap Gaffer/Duct tape around top part of light

Remove Garden stake and wrap Gaffer / Duct Tape around base of light. I found they were just squiggy bit shy of fitting firmly in the lid of the Mason Jar and the tape made them sit firmly.
Trim Tape so it doesn't look messy.


Trim Tape
Step Three: 
Remove the inside part of the Mason Jar lid and simply use the screw on outer part.


Place Light firmly into screw on outer part of lid


Step Four:
Decorate or not  ~ your choice. I filled one with glass stones & tied some string around the top to give it a rustic look

Glass stones and string to decorate
 
Step Five:

Pour your bevvy of choice and sit back to admire how clever you are


Finished & ready to use

You could use any REGULAR MOUTH Mason Jar you have in your cupboard or collection. I used the Heritage Blue because I like the way the color is at night. Don't limit yourself to using these outside. They are Fabulous as a ready made light when those dreaded Blackouts happen and only need to sit where they can be in direct sunlight to recharge!

From Clear / Heritage & Summer Green New ©Ball Mason Jars through to gorgeous 100 year old Vintage ~ You can buy all Regular Mouth Mason Jars from our website 

So there you have it! I am using these on the Newly Named Ladies Landing (previously Known as The Man Deck) and think they are Fab from as cheap as $2.00 ~ The Fabulous Mason Jar Light.

PS: Went back and removed the Plastic bit from the Solar Light and recharged. I wasnt sure that it would work as there is a silver reflector in the bottom. half filled the Jars with Colored stones and this is the result!


Stay Fabulous

fs vintage
xx